> ## Documentation Index
> Fetch the complete documentation index at: https://docs.fire.rest/llms.txt
> Use this file to discover all available pages before exploring further.
# Set up a store
> Two ways to configure a KDS store in the Fire backoffice: apply a template or build it from scratch with the initial setup wizard.
There are two ways to configure a KDS store: apply a **template** (recommended when you repeat the same layout) or configure everything **from scratch**.
## Option A — Use a template
Ideal when you already have a proven layout (same chain, same kitchen type).
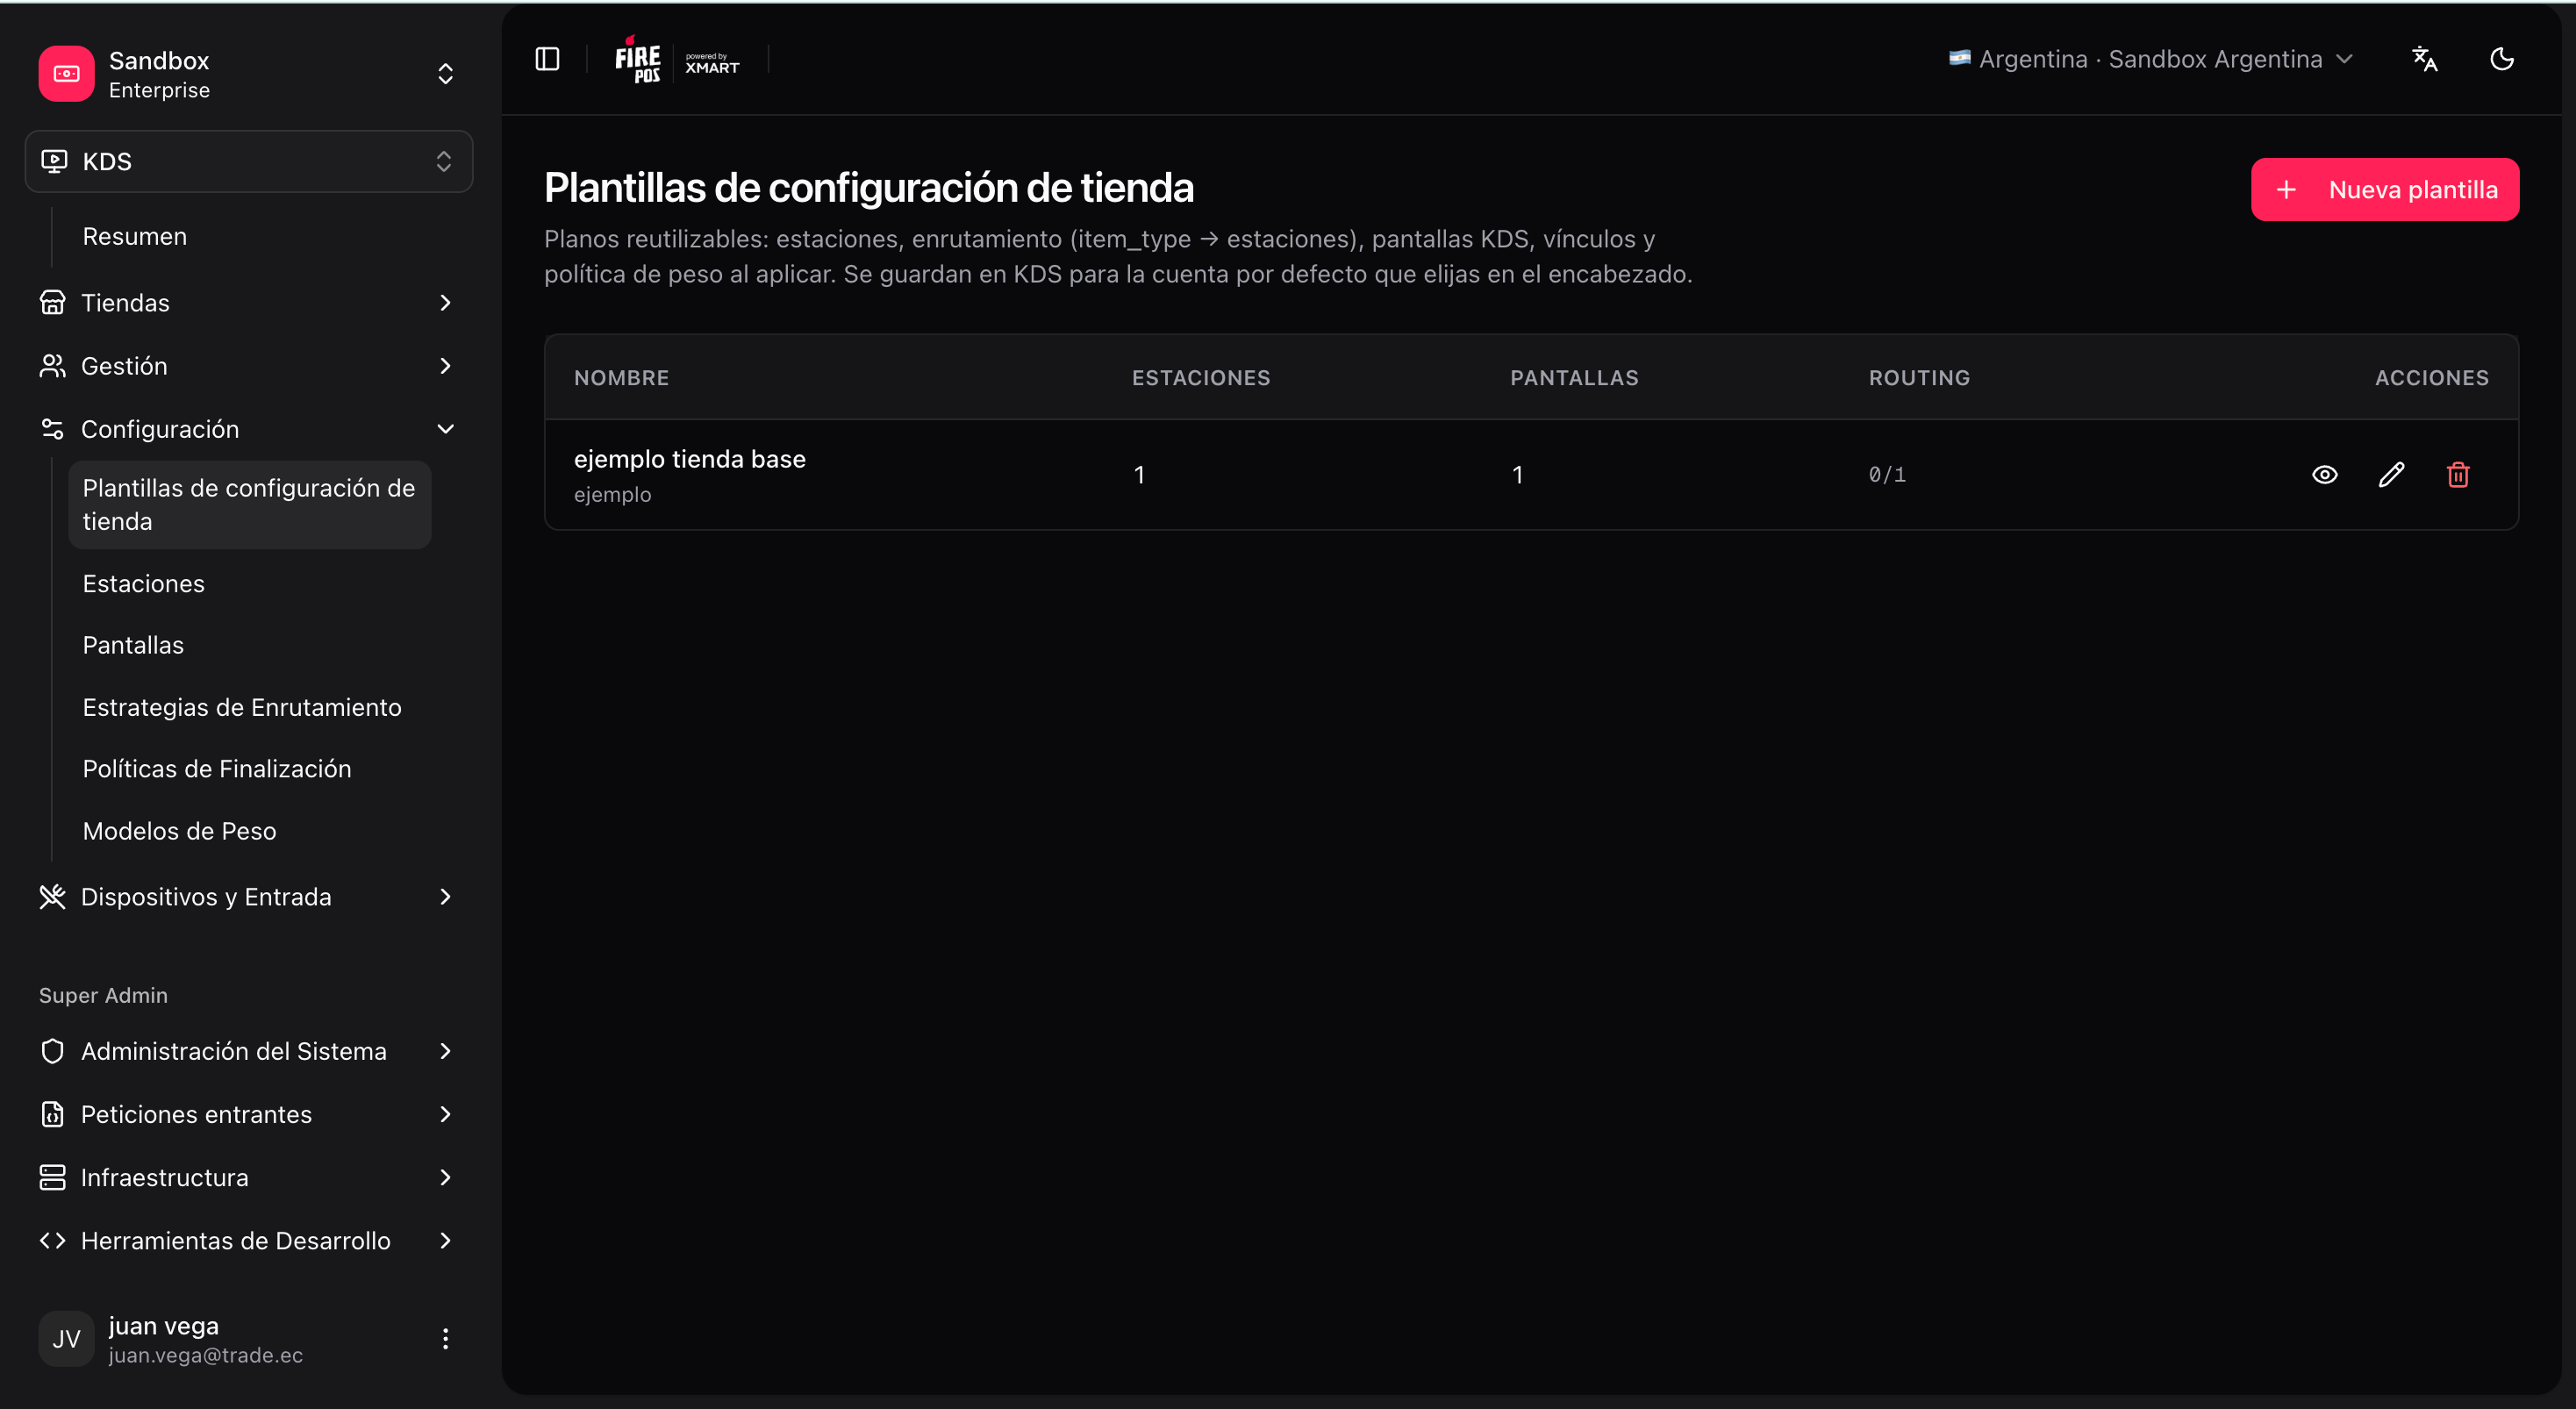
Go to **KDS → Setup templates** (`/kds/admin/setup-templates`).
Choose an **empty template** or **Seed from store** (copy the config of a store that already works).
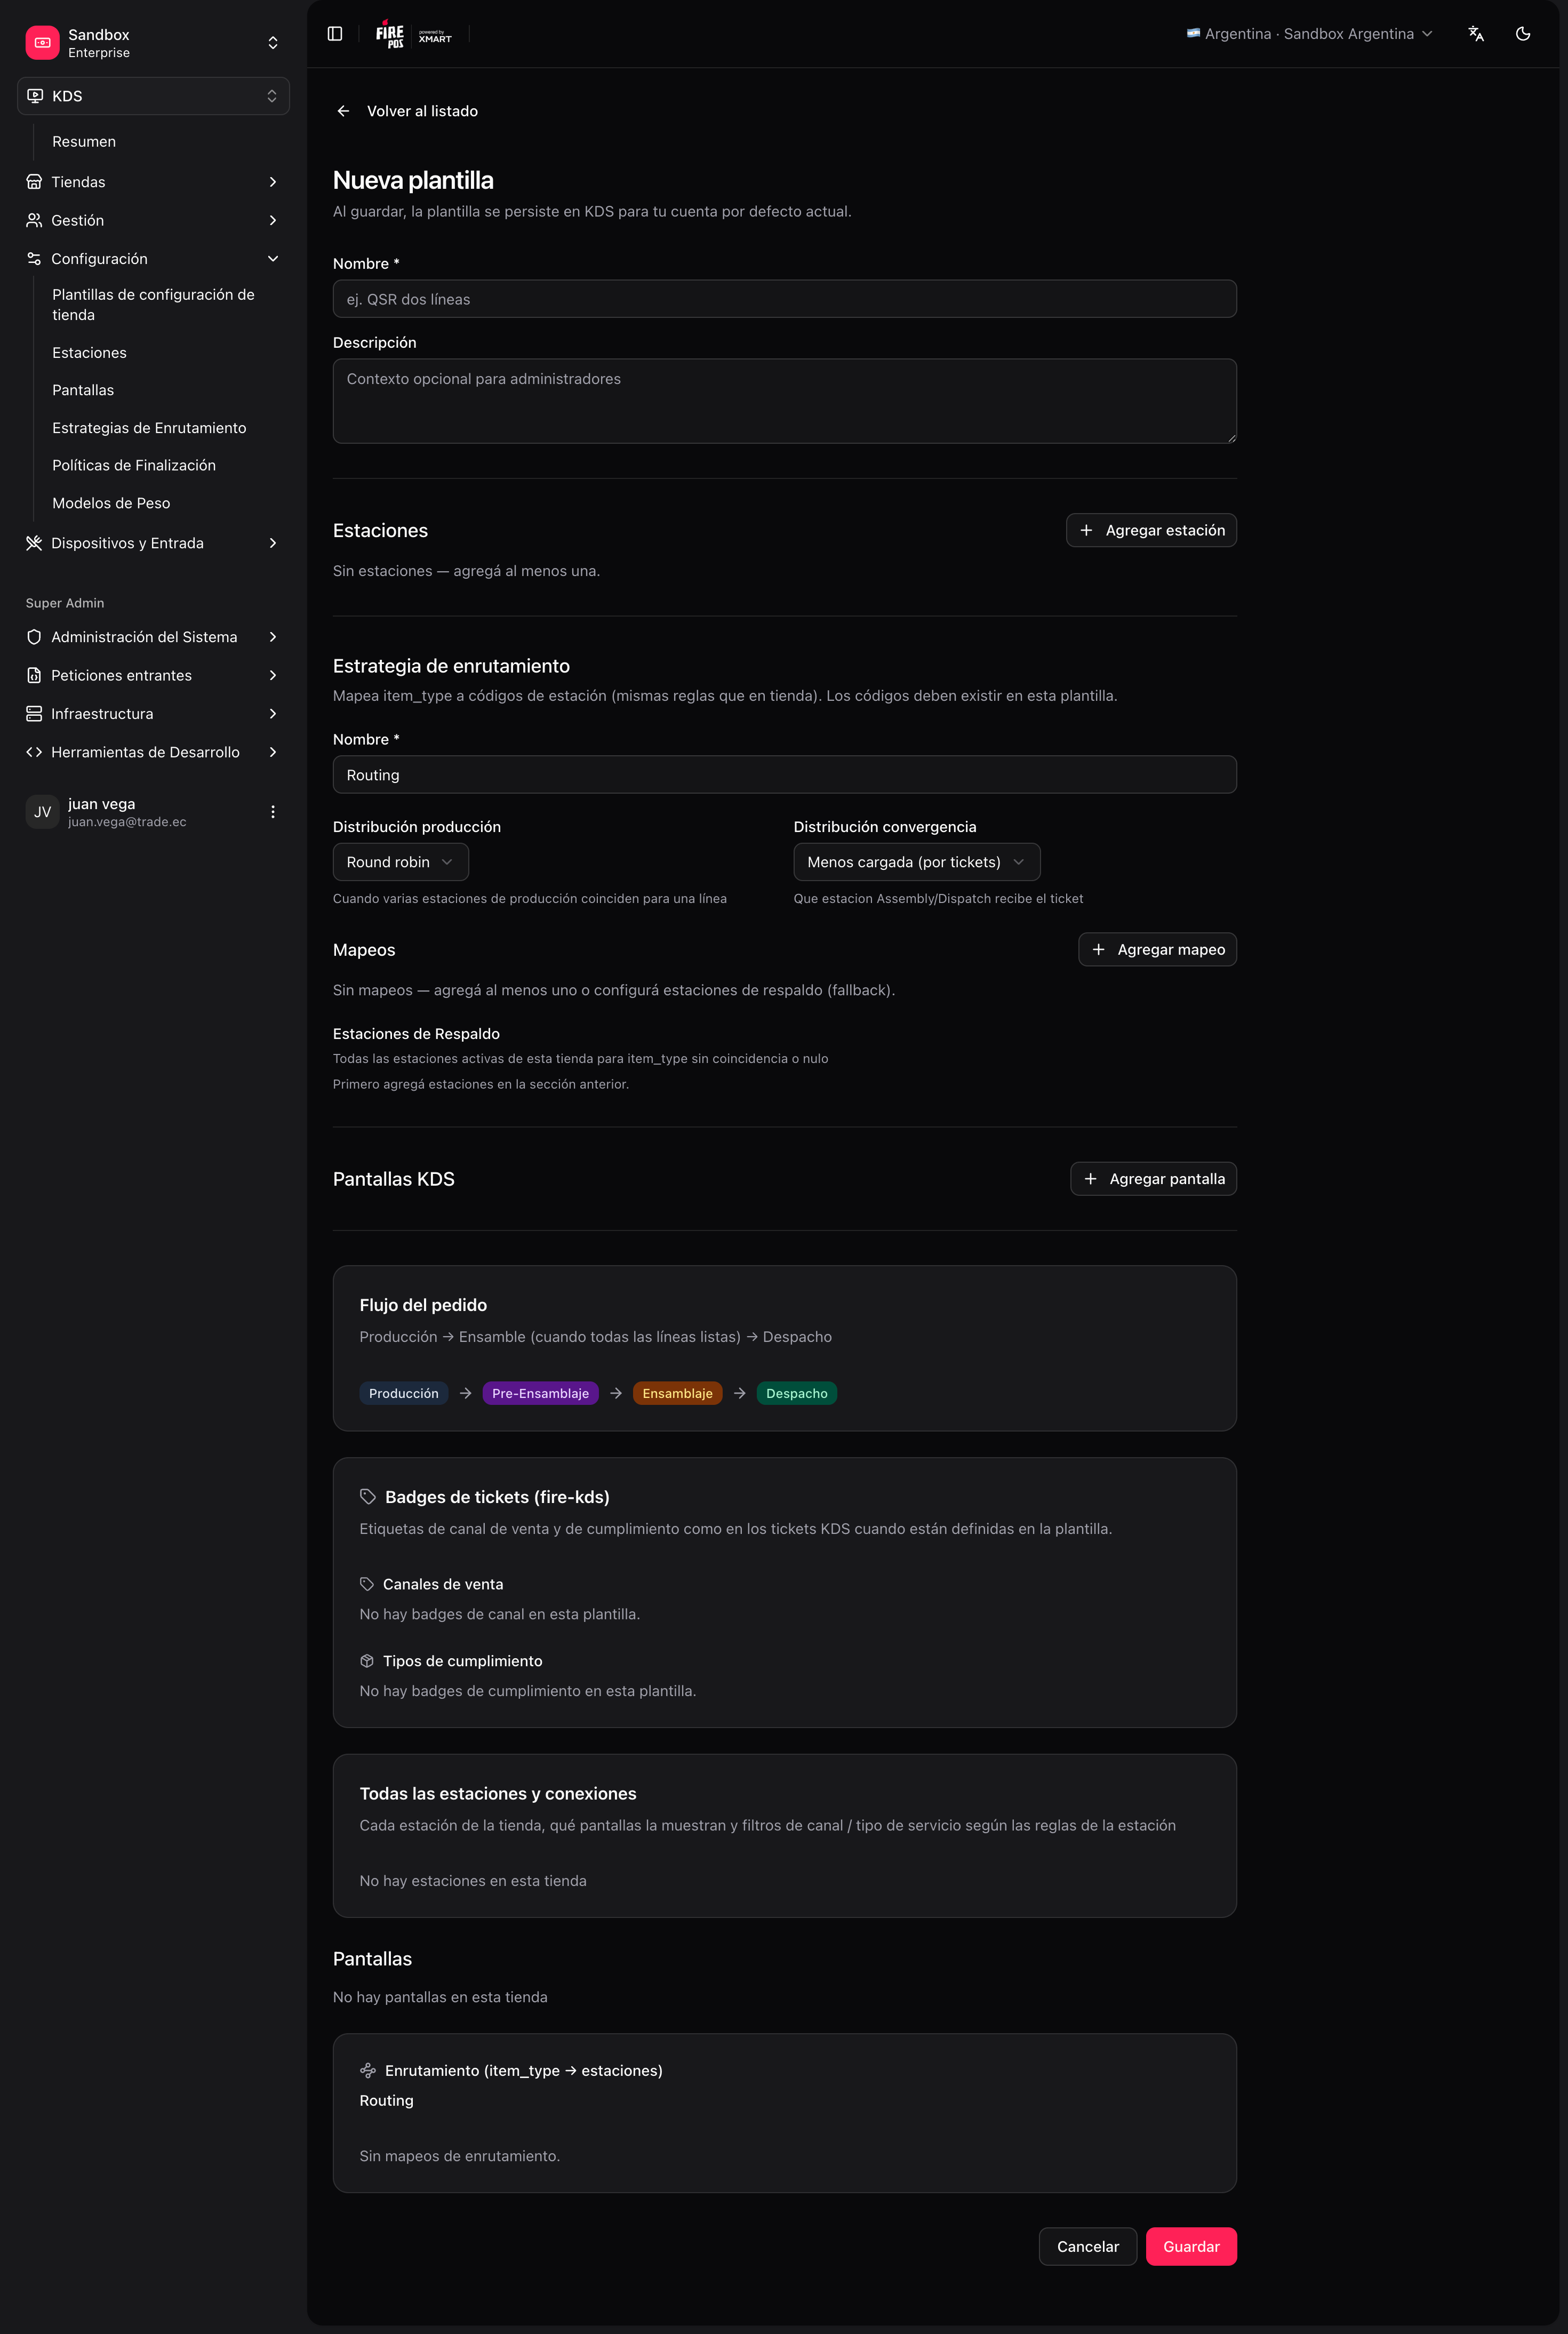
 In the editor, fill the sections in this logical order:
* Stations
* Screens + screen ↔ station links
* Routing
* (Optional) channel/service badges
* (Optional) ready-pickup printing per screen
* (Optional) keyboard per screen
### Apply a template to a new store (initial wizard)
**KDS → All Stores → Create**.
If the store is empty (no stations, screens, or routing), open `/kds/admin/stores/initial-setup/{storeId}`.
Choose **Use a blueprint** → select the template → review/edit → **Apply to store**.
In the editor, fill the sections in this logical order:
* Stations
* Screens + screen ↔ station links
* Routing
* (Optional) channel/service badges
* (Optional) ready-pickup printing per screen
* (Optional) keyboard per screen
### Apply a template to a new store (initial wizard)
**KDS → All Stores → Create**.
If the store is empty (no stations, screens, or routing), open `/kds/admin/stores/initial-setup/{storeId}`.
Choose **Use a blueprint** → select the template → review/edit → **Apply to store**.
 The wizard shows progress by phase (stations, screens, links, routing, etc.).
You can also **save an existing store as a template** from that store's **Store settings** ("Save as template").
## Option B — Configure manually (from scratch)
Recommended order when you do not use a template:
| Step | Backoffice menu | Route |
| ---- | ------------------------------------------- | --------------------------------------------------- |
| 1 | All Stores → create store | `/kds/admin/stores/new` |
| 2 | Stations → create stations | `/kds/admin/stations/new` |
| 3 | Screens → create screens | `/kds/admin/screens/new` |
| 4 | Assign stations to each screen | `/kds/admin/screens/{id}/assign-stations` |
| 5 | Routing → active strategy | `/kds/admin/routing/new` |
| 6 | (Optional) Input devices + Keyboard layouts | `/kds/admin/devices`, `/kds/admin/keyboard-layouts` |
| 7 | Validate in the store **KDS Map** | `/kds/admin/stores/{storeId}/kds-map` |
The **initial setup** wizard also offers **Create from scratch**: it opens the same editor as templates, but applied directly to the empty store.
Each step has its own page in this section: [Stations](/en/manuals/kds/stations), [Screens](/en/manuals/kds/screens), [Routing](/en/manuals/kds/routing), and [Peripherals, printing and validation](/en/manuals/kds/peripherals-printing).
The wizard shows progress by phase (stations, screens, links, routing, etc.).
You can also **save an existing store as a template** from that store's **Store settings** ("Save as template").
## Option B — Configure manually (from scratch)
Recommended order when you do not use a template:
| Step | Backoffice menu | Route |
| ---- | ------------------------------------------- | --------------------------------------------------- |
| 1 | All Stores → create store | `/kds/admin/stores/new` |
| 2 | Stations → create stations | `/kds/admin/stations/new` |
| 3 | Screens → create screens | `/kds/admin/screens/new` |
| 4 | Assign stations to each screen | `/kds/admin/screens/{id}/assign-stations` |
| 5 | Routing → active strategy | `/kds/admin/routing/new` |
| 6 | (Optional) Input devices + Keyboard layouts | `/kds/admin/devices`, `/kds/admin/keyboard-layouts` |
| 7 | Validate in the store **KDS Map** | `/kds/admin/stores/{storeId}/kds-map` |
The **initial setup** wizard also offers **Create from scratch**: it opens the same editor as templates, but applied directly to the empty store.
Each step has its own page in this section: [Stations](/en/manuals/kds/stations), [Screens](/en/manuals/kds/screens), [Routing](/en/manuals/kds/routing), and [Peripherals, printing and validation](/en/manuals/kds/peripherals-printing).