> ## Documentation Index
> Fetch the complete documentation index at: https://docs.fire.rest/llms.txt
> Use this file to discover all available pages before exploring further.
# Linking
> How to link a kiosk to a store from the Fire backoffice.
This guide explains how to register a restaurant and link a kiosk device to Fire so it can receive its configuration, menu and payment methods.
## Prerequisites
* Access to the Fire backoffice at **[app.fire.rest](https://app.fire.rest)**, with permissions on the **Kiosks** channel.
* The **FIRE POS** (kiosk) app installed on the device.
* The device powered on and connected to the internet.
## 1. Select country and vendor
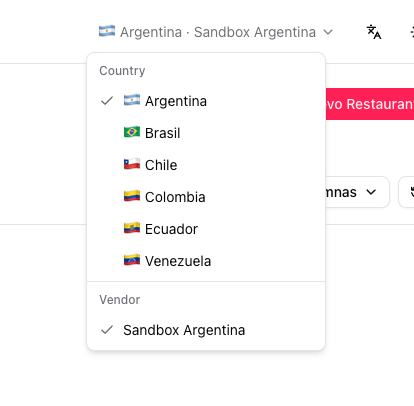
From the top-right corner, open the country selector and choose the country and vendor you will operate under.
 ## 2. Confirm the Kiosks channel
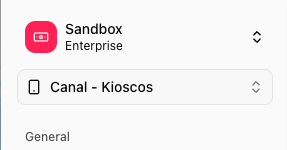
At the top of the left side menu (the first option), open the channel selector and choose **Canal - Kioscos** (Kiosks channel). Every action in this guide happens inside that channel.
## 2. Confirm the Kiosks channel
At the top of the left side menu (the first option), open the channel selector and choose **Canal - Kioscos** (Kiosks channel). Every action in this guide happens inside that channel.
 ## 3. Register a restaurant
Before linking a device you need a restaurant to attach it to. If the restaurant already exists, skip to step 4.
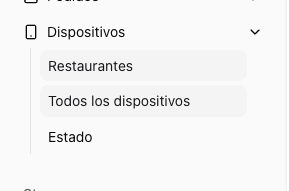
1. In the side menu open **Devices → Restaurants**.
## 3. Register a restaurant
Before linking a device you need a restaurant to attach it to. If the restaurant already exists, skip to step 4.
1. In the side menu open **Devices → Restaurants**.
 2. Click **+ New Restaurant**.
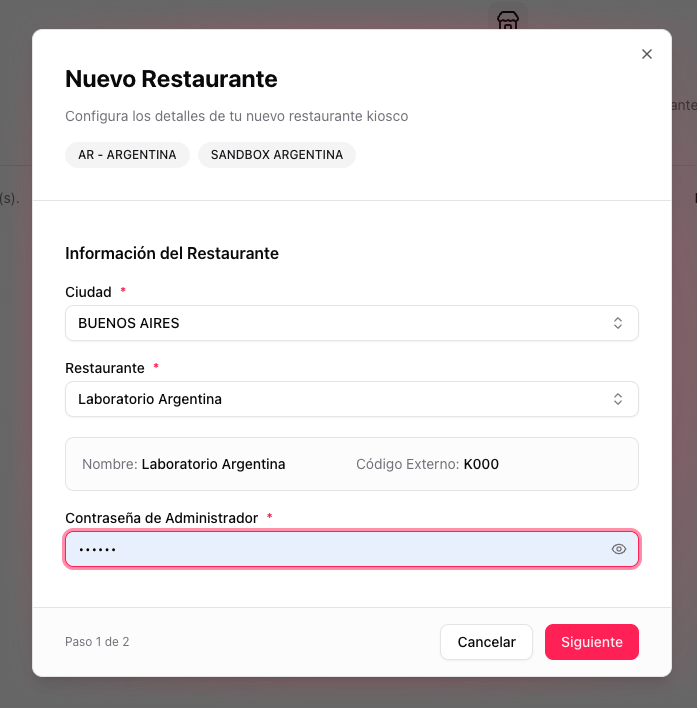
 3. **Step 1 of 2 — Restaurant Information.** Fill in the fields and click **Next**.
* **City**
* **Restaurant** (selecting it auto-fills the name and external code)
* **Administrator Password**
3. **Step 1 of 2 — Restaurant Information.** Fill in the fields and click **Next**.
* **City**
* **Restaurant** (selecting it auto-fills the name and external code)
* **Administrator Password**
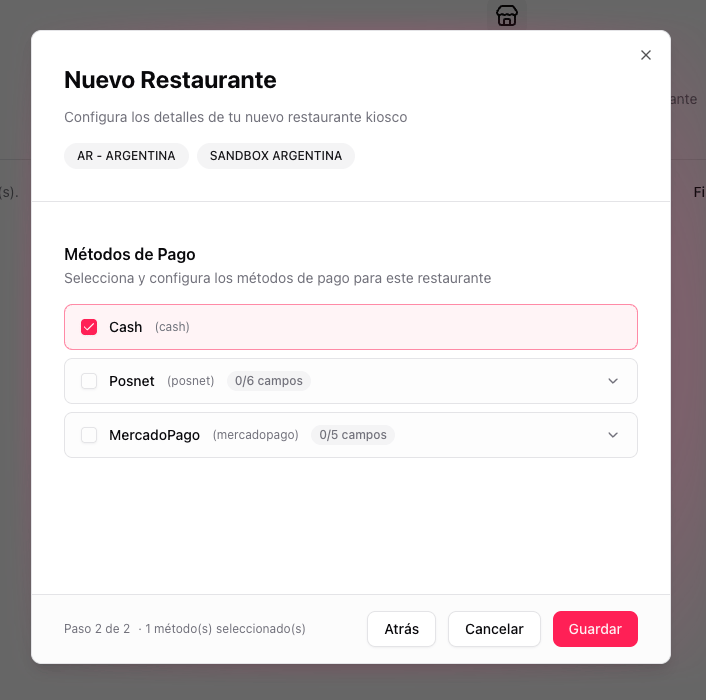
 4. **Step 2 of 2 — Payment Methods.** Select and configure the payment methods for this restaurant (Cash, Posnet, MercadoPago). Click **Save**.
 ## 4. Open the kiosk app
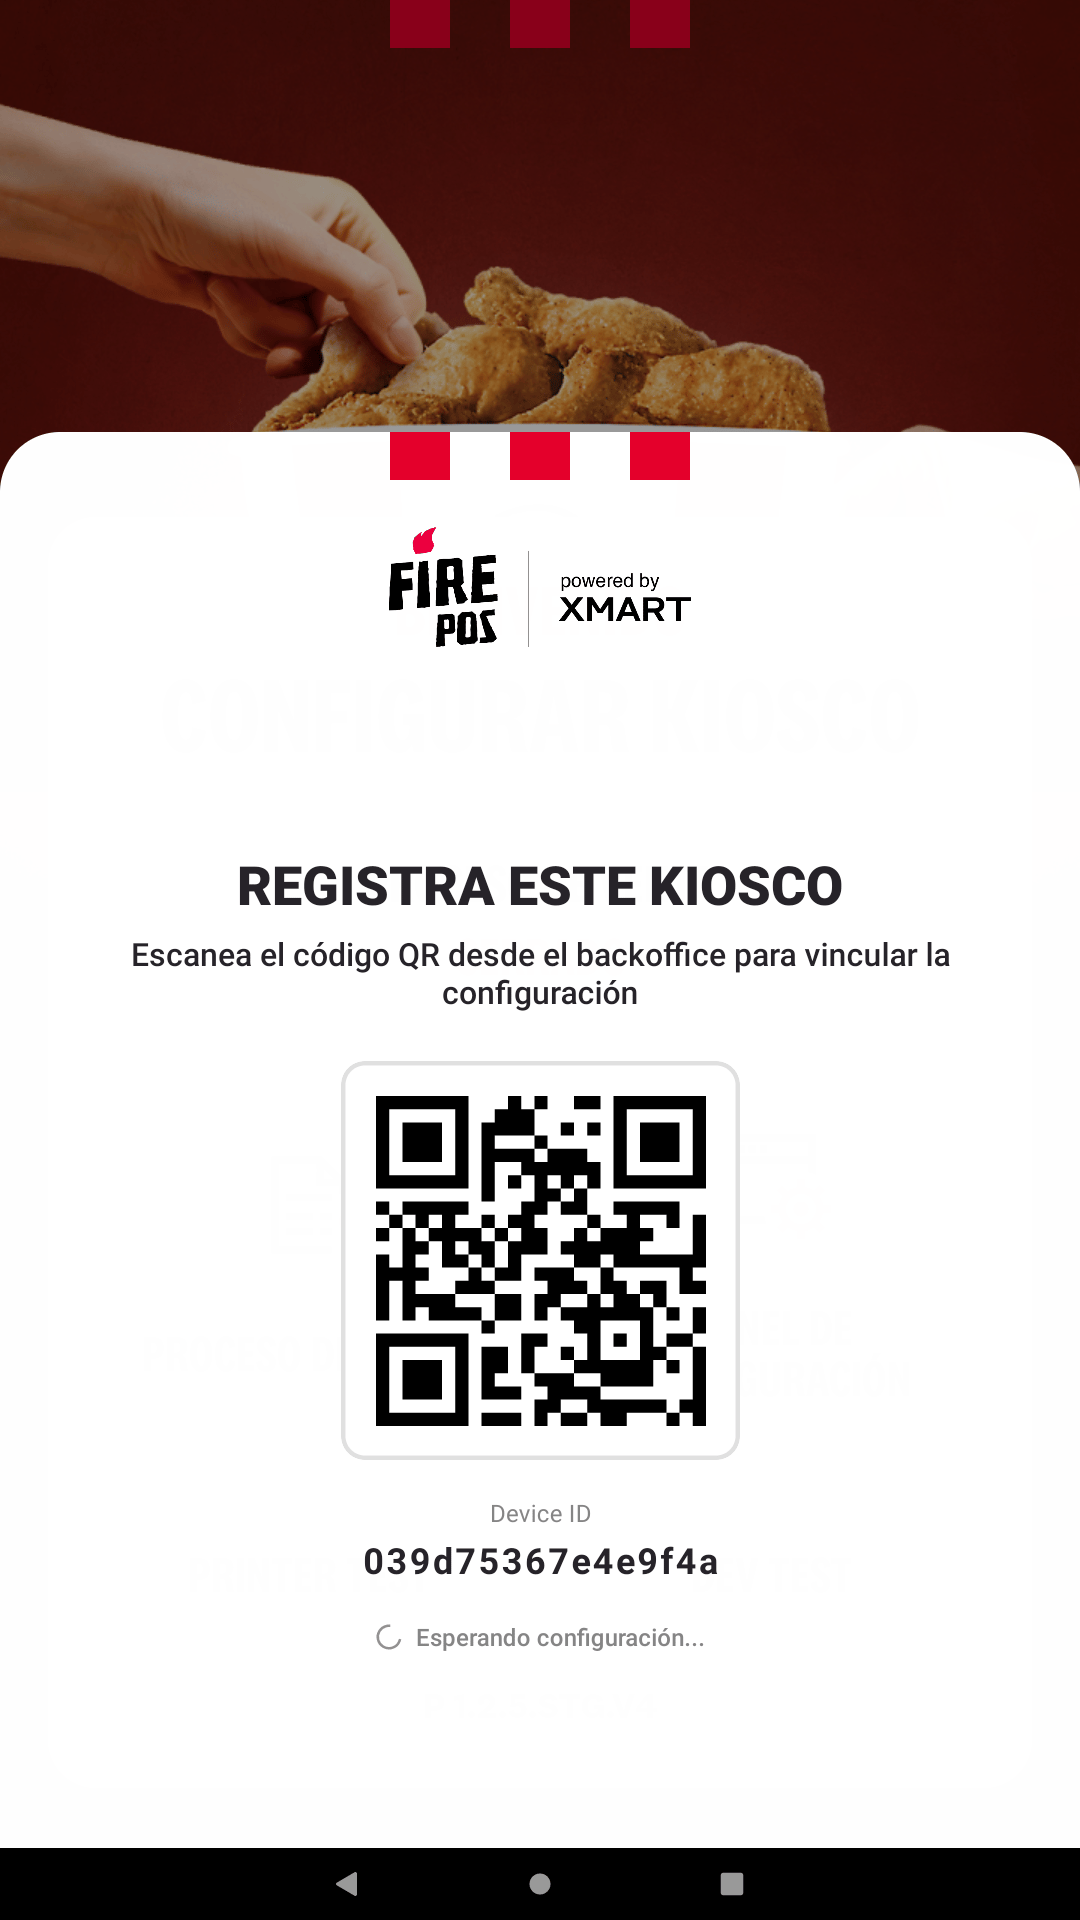
In parallel, open the **FIRE POS** app on the device. The home screen shows a QR code and the kiosk's **Device ID**. Keep this screen visible.
## 4. Open the kiosk app
In parallel, open the **FIRE POS** app on the device. The home screen shows a QR code and the kiosk's **Device ID**. Keep this screen visible.
 ## 5. Register the kiosk in the backoffice
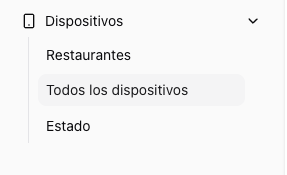
1. In the side menu open **Devices → All devices**.
## 5. Register the kiosk in the backoffice
1. In the side menu open **Devices → All devices**.
 2. Click **+ New Kiosk**.
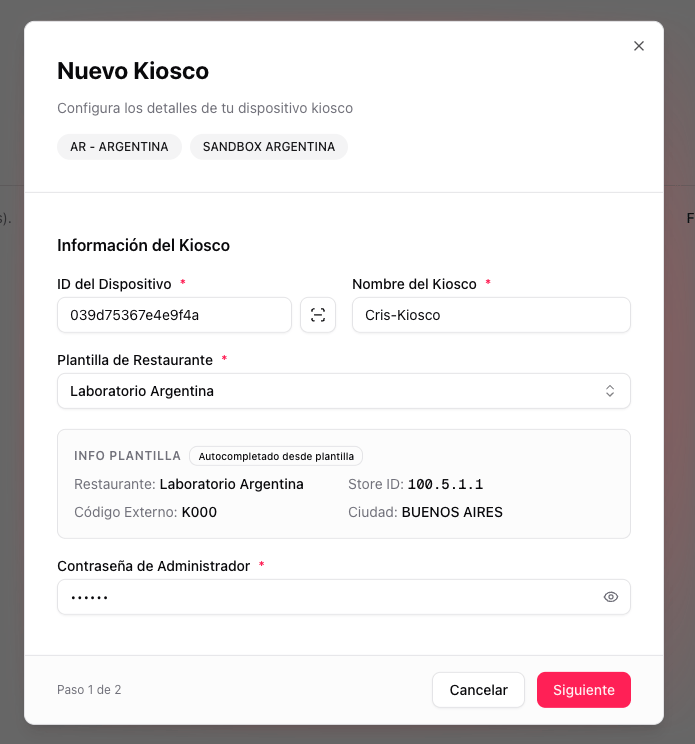
 3. **Step 1 of 2 — Kiosk Information.** Fill in the fields and click **Next**.
* **Device ID**: copy or scan it from the kiosk screen (step 4).
* **Kiosk Name**: an internal name to identify it.
* **Restaurant Template**: the restaurant created in step 3. Its data is auto-filled.
* **Administrator Password**.
3. **Step 1 of 2 — Kiosk Information.** Fill in the fields and click **Next**.
* **Device ID**: copy or scan it from the kiosk screen (step 4).
* **Kiosk Name**: an internal name to identify it.
* **Restaurant Template**: the restaurant created in step 3. Its data is auto-filled.
* **Administrator Password**.
 4. **Step 2 of 2 — Payment Methods.** Configure the payment methods specific to this kiosk and click **Save**.
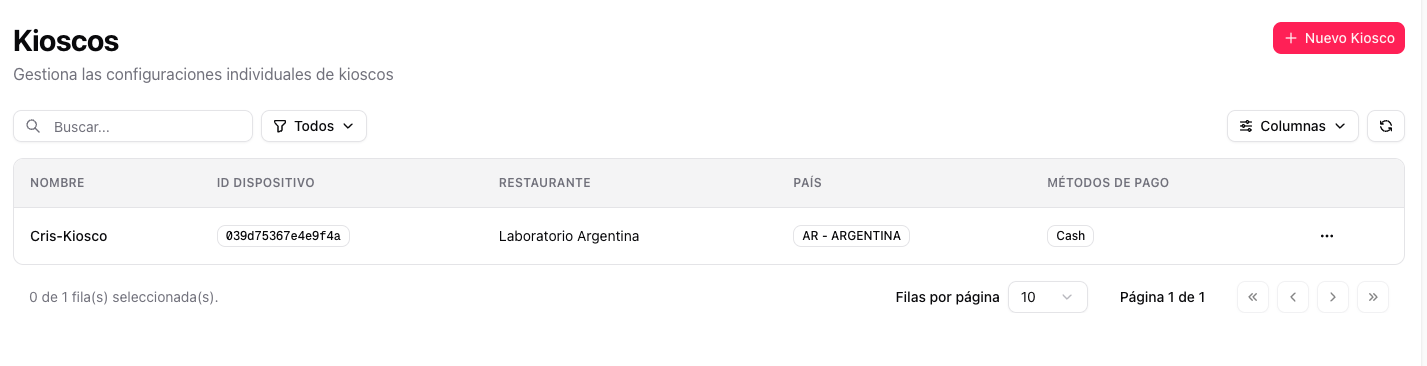
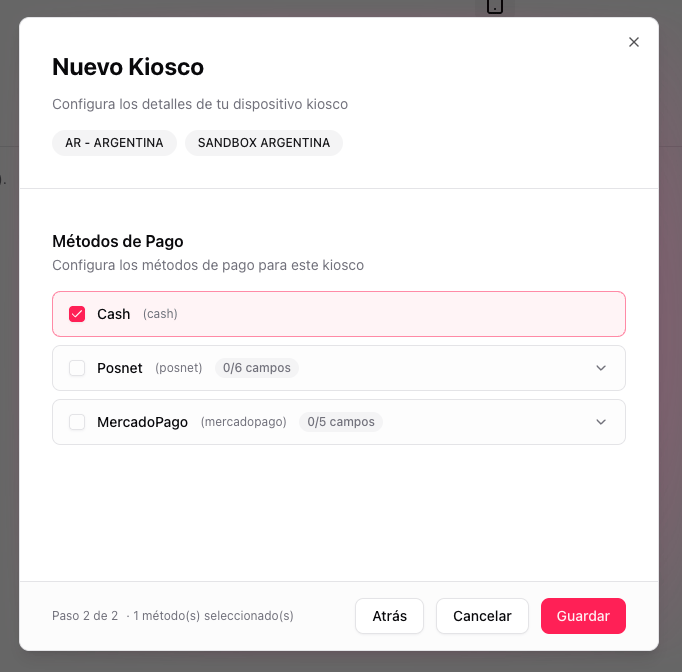 5. The kiosk now appears in the list with its name, device ID, restaurant and configured payment methods.
 ## 6. The kiosk configures itself
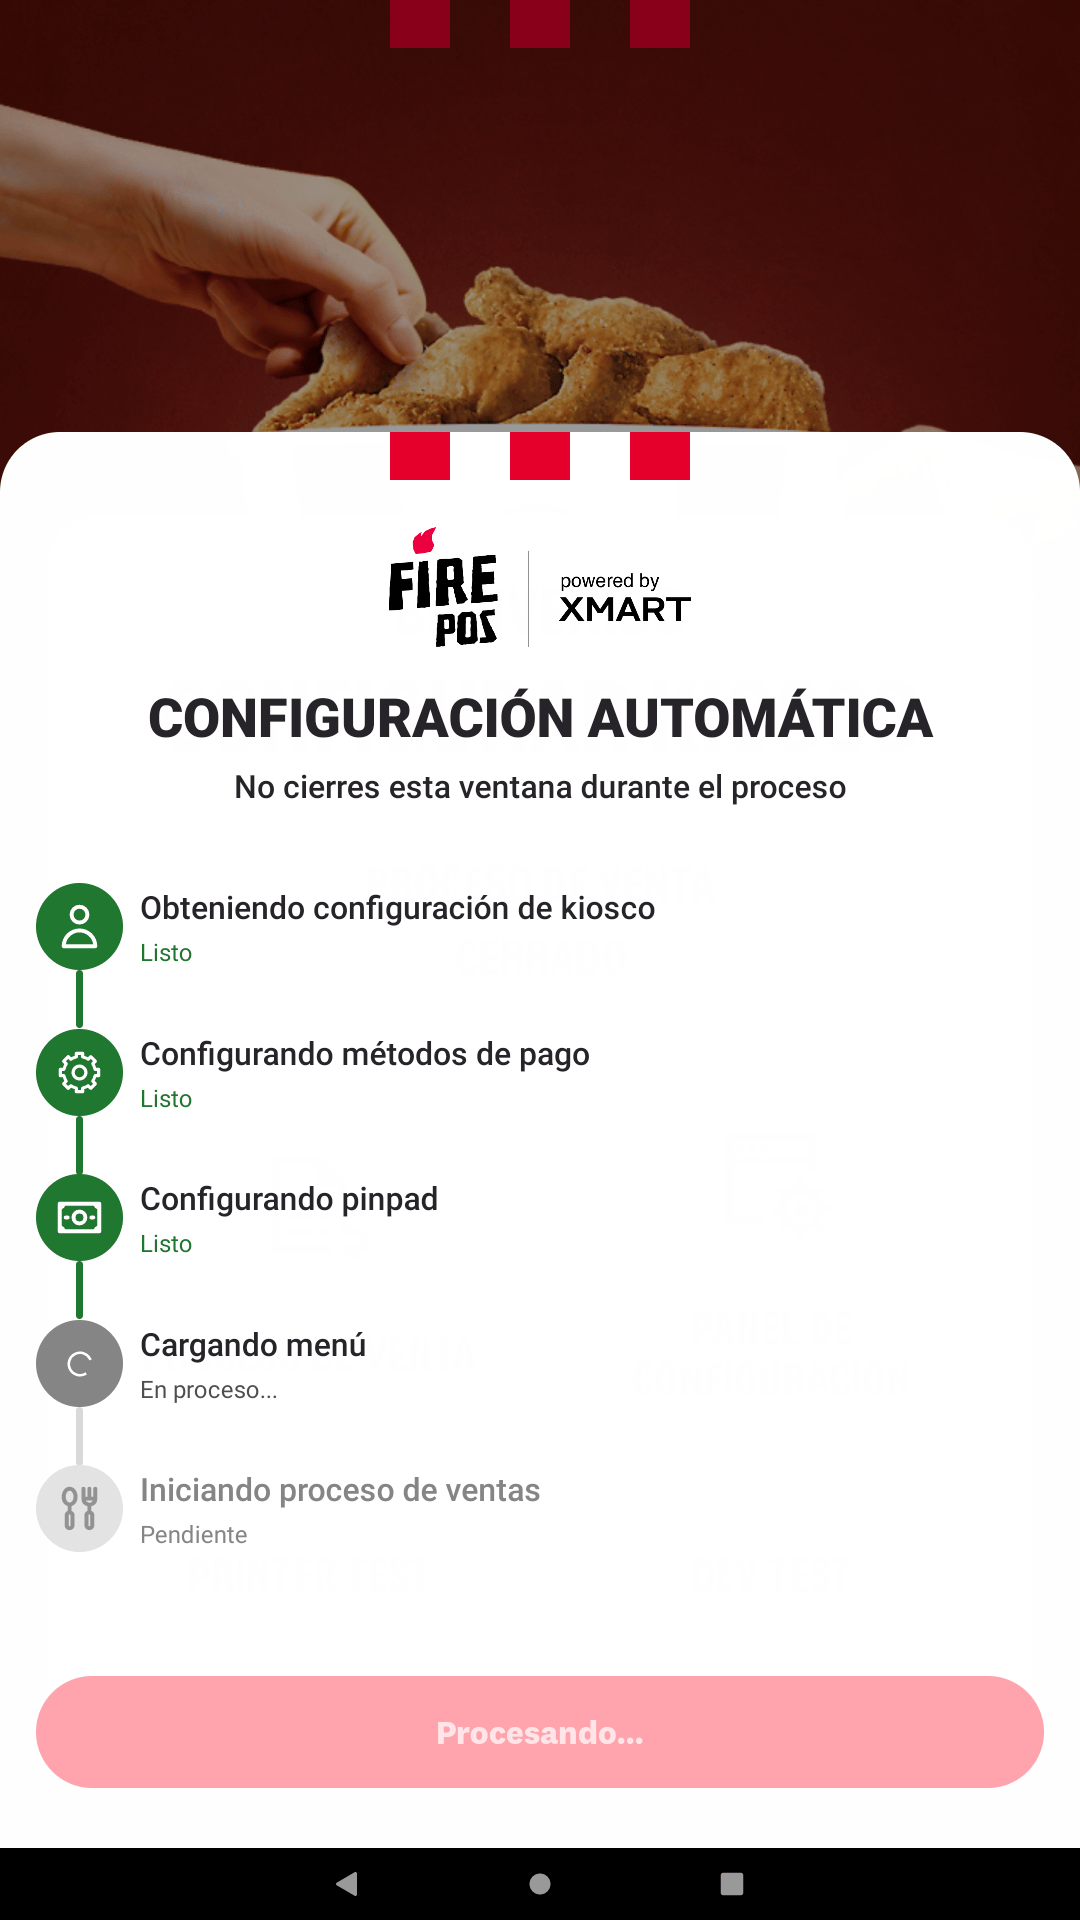
Once saved, the device receives the configuration without manual intervention. The progress is shown on screen:
## 6. The kiosk configures itself
Once saved, the device receives the configuration without manual intervention. The progress is shown on screen:
 When it finishes, the kiosk shows the confirmation. Tap **Accept** to start using it.
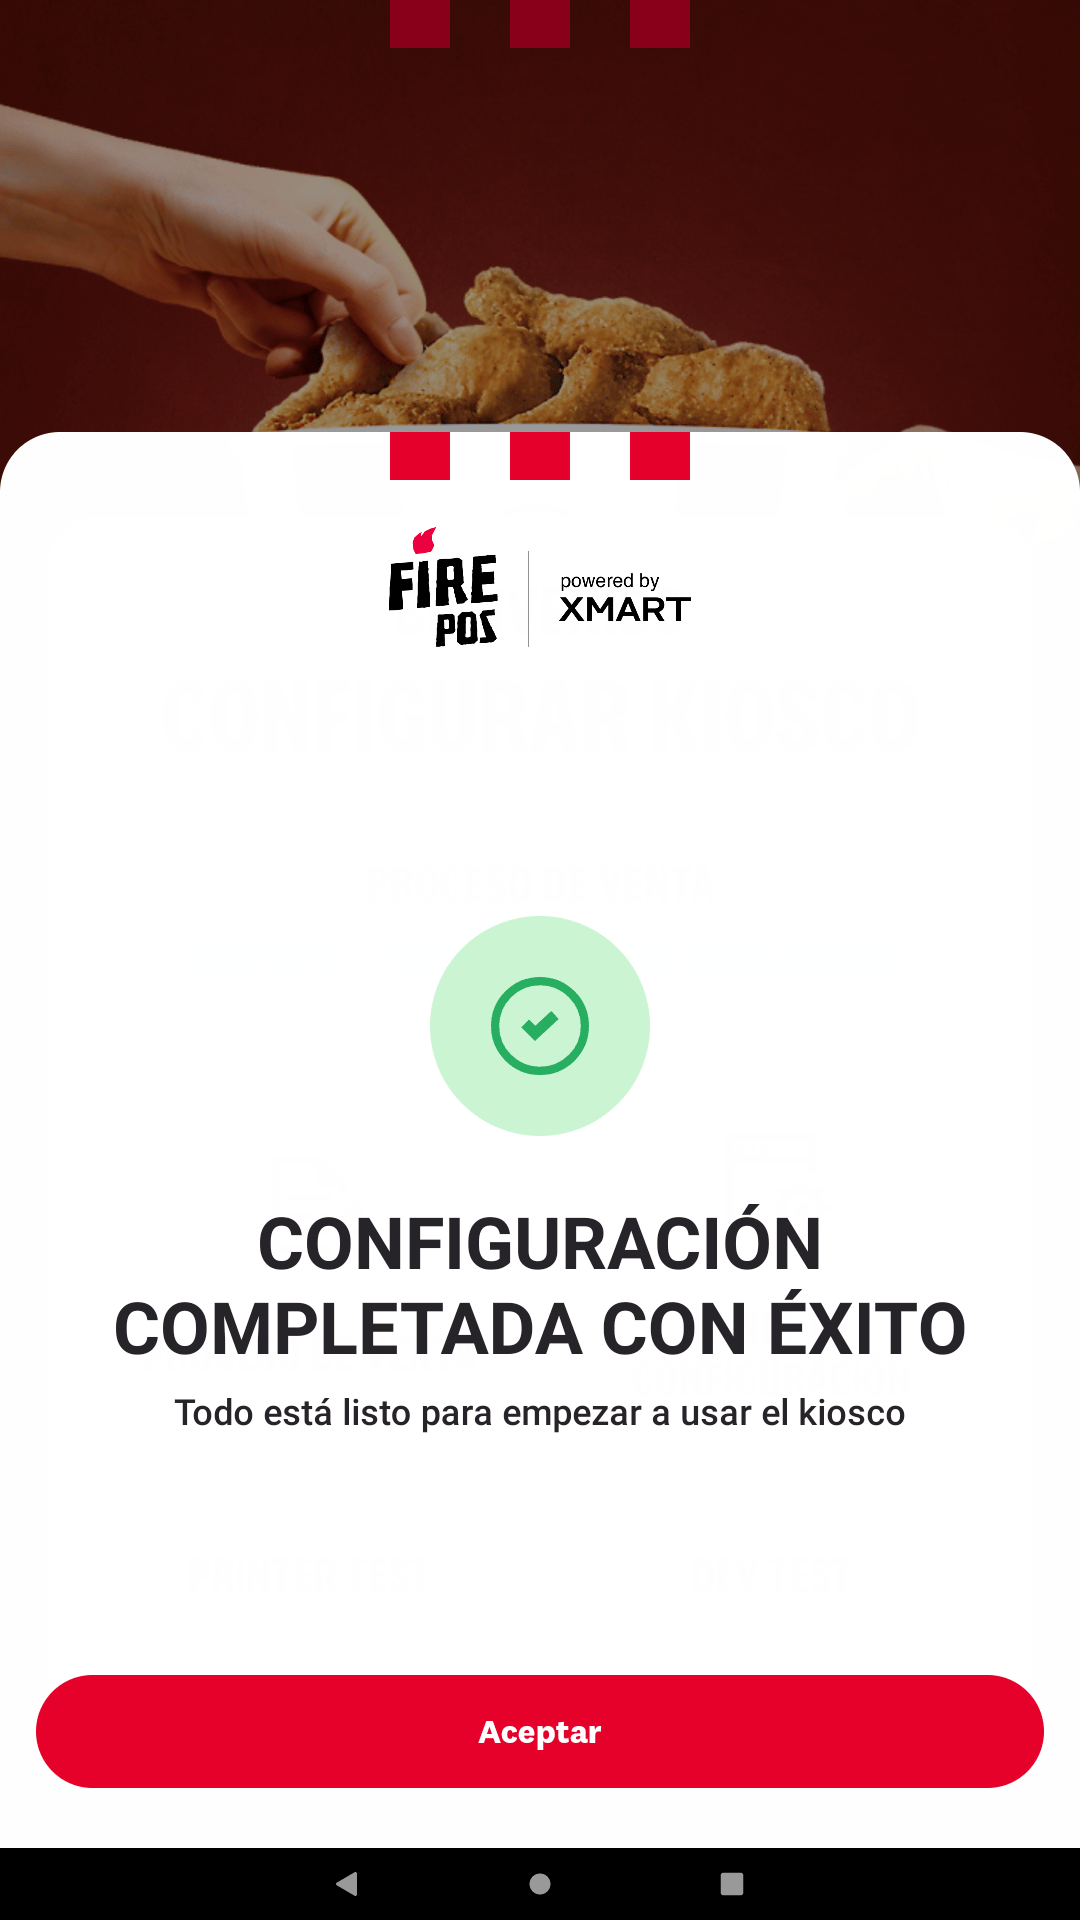 The kiosk is now linked to the store and ready to operate.