

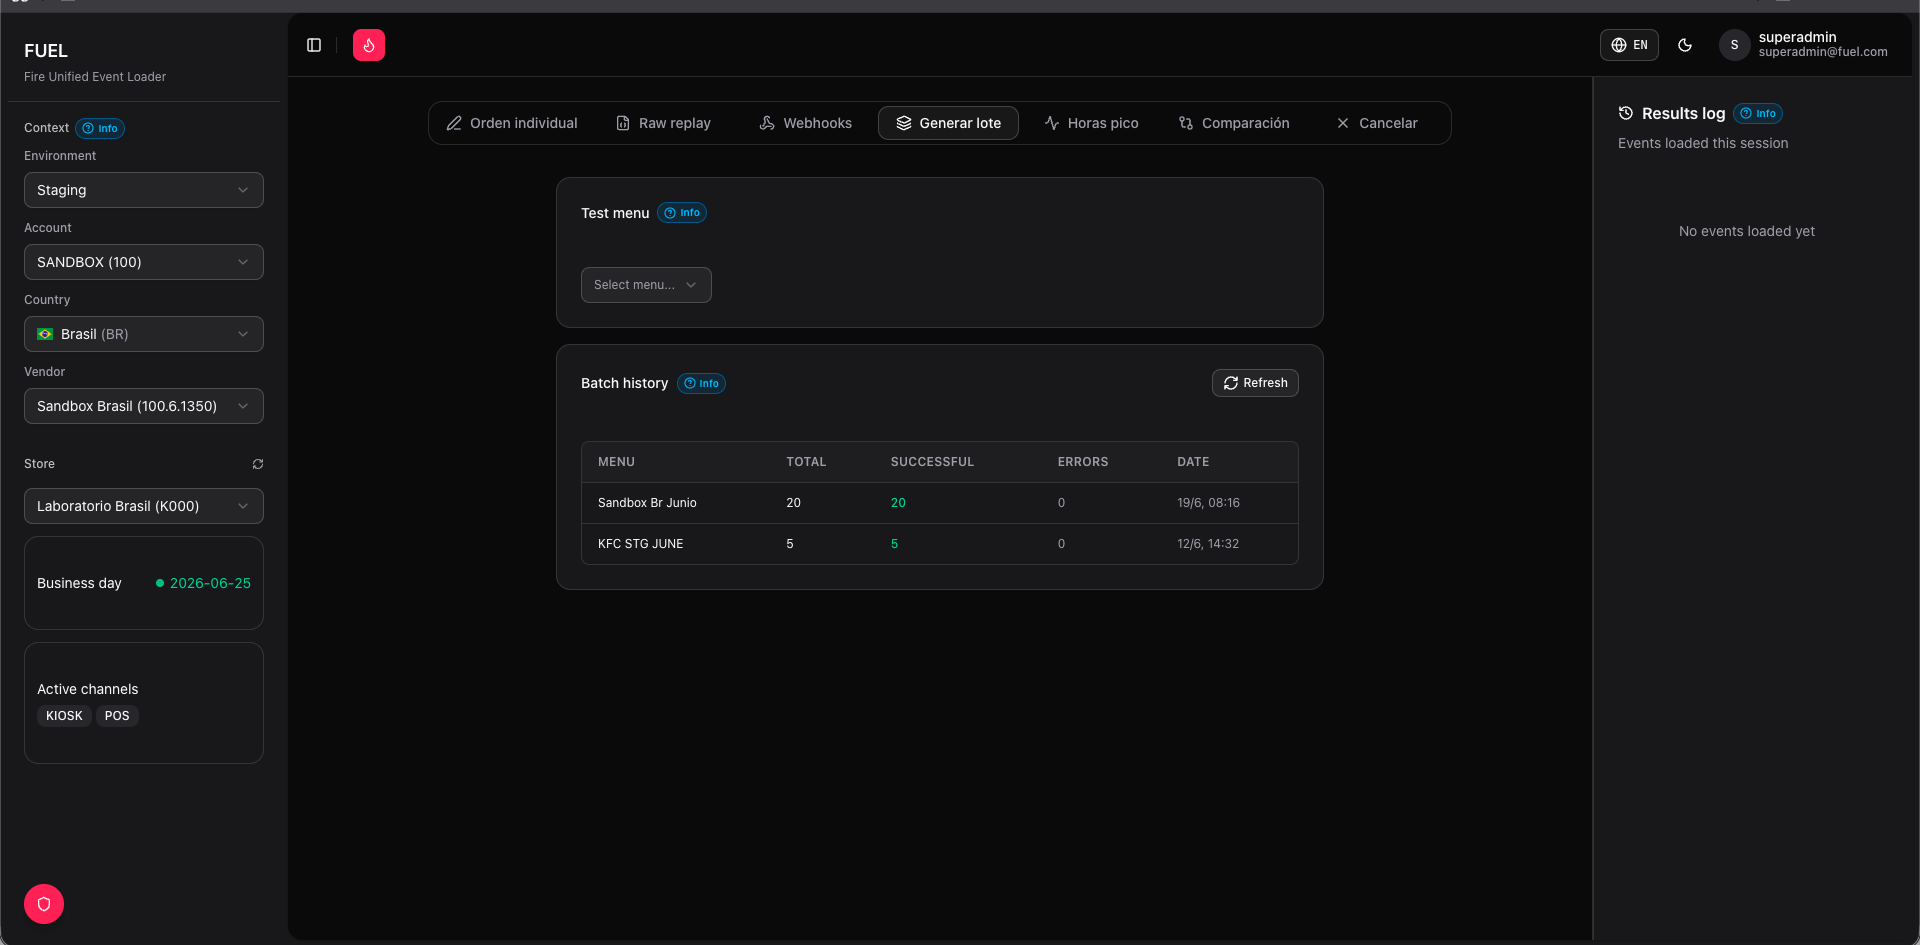
Select a test menu
Every batch starts by choosing a Test Menu — the catalog that defines which products, channels, and payment processors are available for the generated orders. The same menus used in Single order appear here.You must have an operating context selected (environment → account → country → vendor → store) before a test menu can be loaded.
Configure the batch
Volume
Quantity — number of orders to generate (1–200).Min / Max products per order — each order gets a random product count within this range.
Status distribution
Three sliders that must add up to 100 %:
- Approved % — orders with a successful payment result
- Pending % — orders awaiting payment confirmation
- Rejected % — orders with a failed payment
Concurrency
Number of requests sent in parallel when using All at once or In batches of N mode. Higher values stress-test the platform; lower values are safer for shared environments.
Fulfillment mode
- By-channel — each order’s fulfillment type matches the selected channel’s default (
pickupfor POS/KIOSK,deliveryfor AGGREGATOR/APP) - Random — FUEL randomizes between
pickupanddeliveryacross orders
Channels
Multi-select picker — choose one or more of
POS, KIOSK, APP, AGGREGATOR. Use All or None shortcuts. Orders are distributed evenly across selected channels.Payment processors
Multi-select of the processors defined in the test menu. Processors are rotated across orders in the batch.
Generate the preview
Click Generate to create the order JSONs. FUEL builds each payload locally — nothing is sent to FIRE yet. The preview table shows one row per order with its assigned Order ID, channel, delivery type, and transaction status indicator (green = approved, yellow = pending, red = rejected).Send the batch
Choose a send mode and click Send batch:1
All at once
Fires all orders simultaneously up to the configured concurrency limit. Fastest option — best for peak-load tests.
2
One by one
Sends orders sequentially with no parallelism. Useful for ordered debugging or environments that throttle concurrent requests.
3
In batches of N
Divides the queue into groups of N and sends each group in parallel before starting the next. Set the batch size in the input that appears when you select this mode.
Done banner
When the run completes (or is stopped), a banner displays:- X successful — orders FIRE accepted (2xx response)
- Y errors — orders that received a non-2xx or network error