Prerequisites
- Access to the Fire backoffice with permissions on the Kiosks channel.
- The FIRE POS (kiosk) app installed on the device.
- The device powered on and connected to the internet.
1. Select country and vendor
From the top-right corner, open the country selector and choose the country and vendor you will operate under.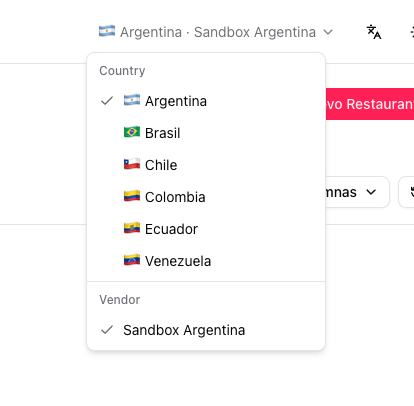
2. Confirm the Kiosks channel
At the top of the left side menu (the first option), open the channel selector and choose Canal - Kioscos (Kiosks channel). Every action in this guide happens inside that channel.
3. Register a restaurant
Before linking a device you need a restaurant to attach it to. If the restaurant already exists, skip to step 4.-
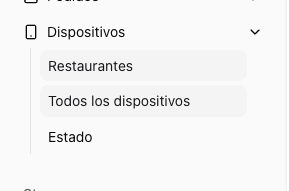
In the side menu open Devices → Restaurants.
-
Click + New Restaurant.

-
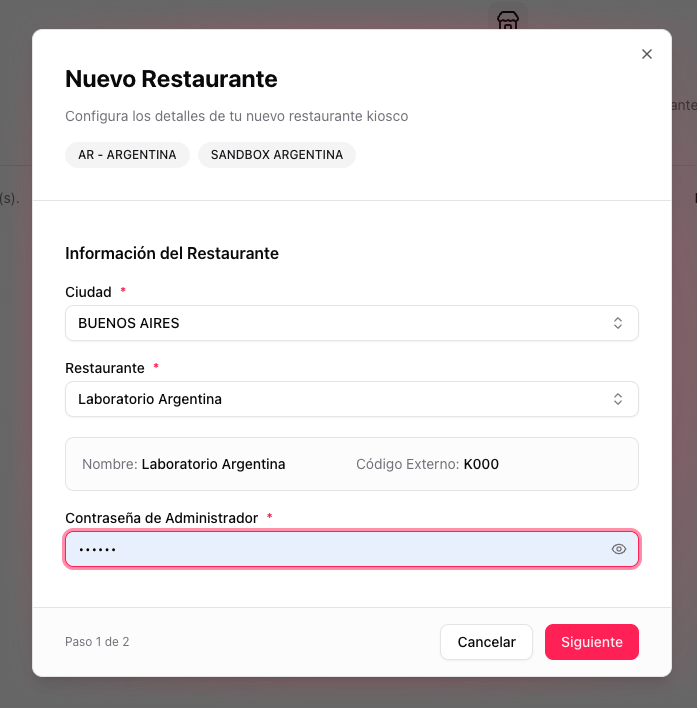
Step 1 of 2 — Restaurant Information. Fill in the fields and click Next.
- City
- Restaurant (selecting it auto-fills the name and external code)
- Administrator Password
-
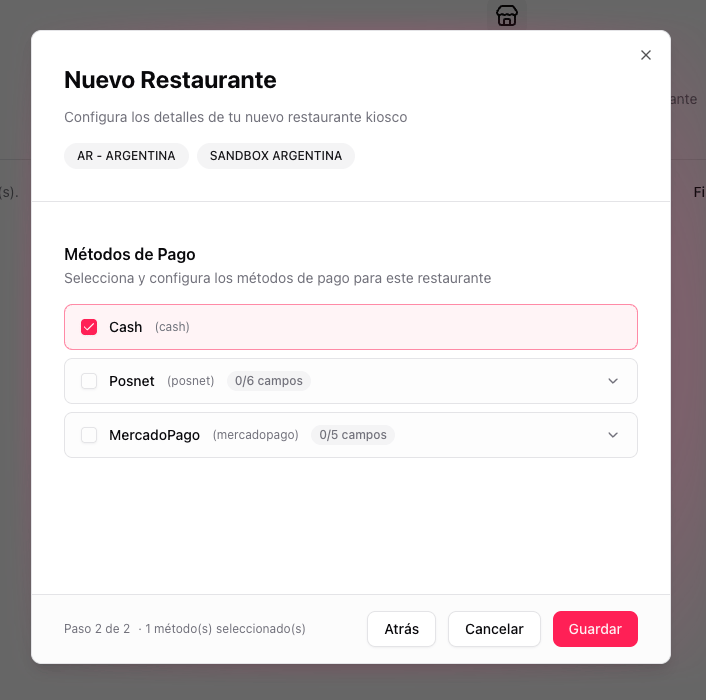
Step 2 of 2 — Payment Methods. Select and configure the payment methods for this restaurant (Cash, Posnet, MercadoPago). Click Save.
4. Open the kiosk app
In parallel, open the FIRE POS app on the device. The home screen shows a QR code and the kiosk’s Device ID. Keep this screen visible.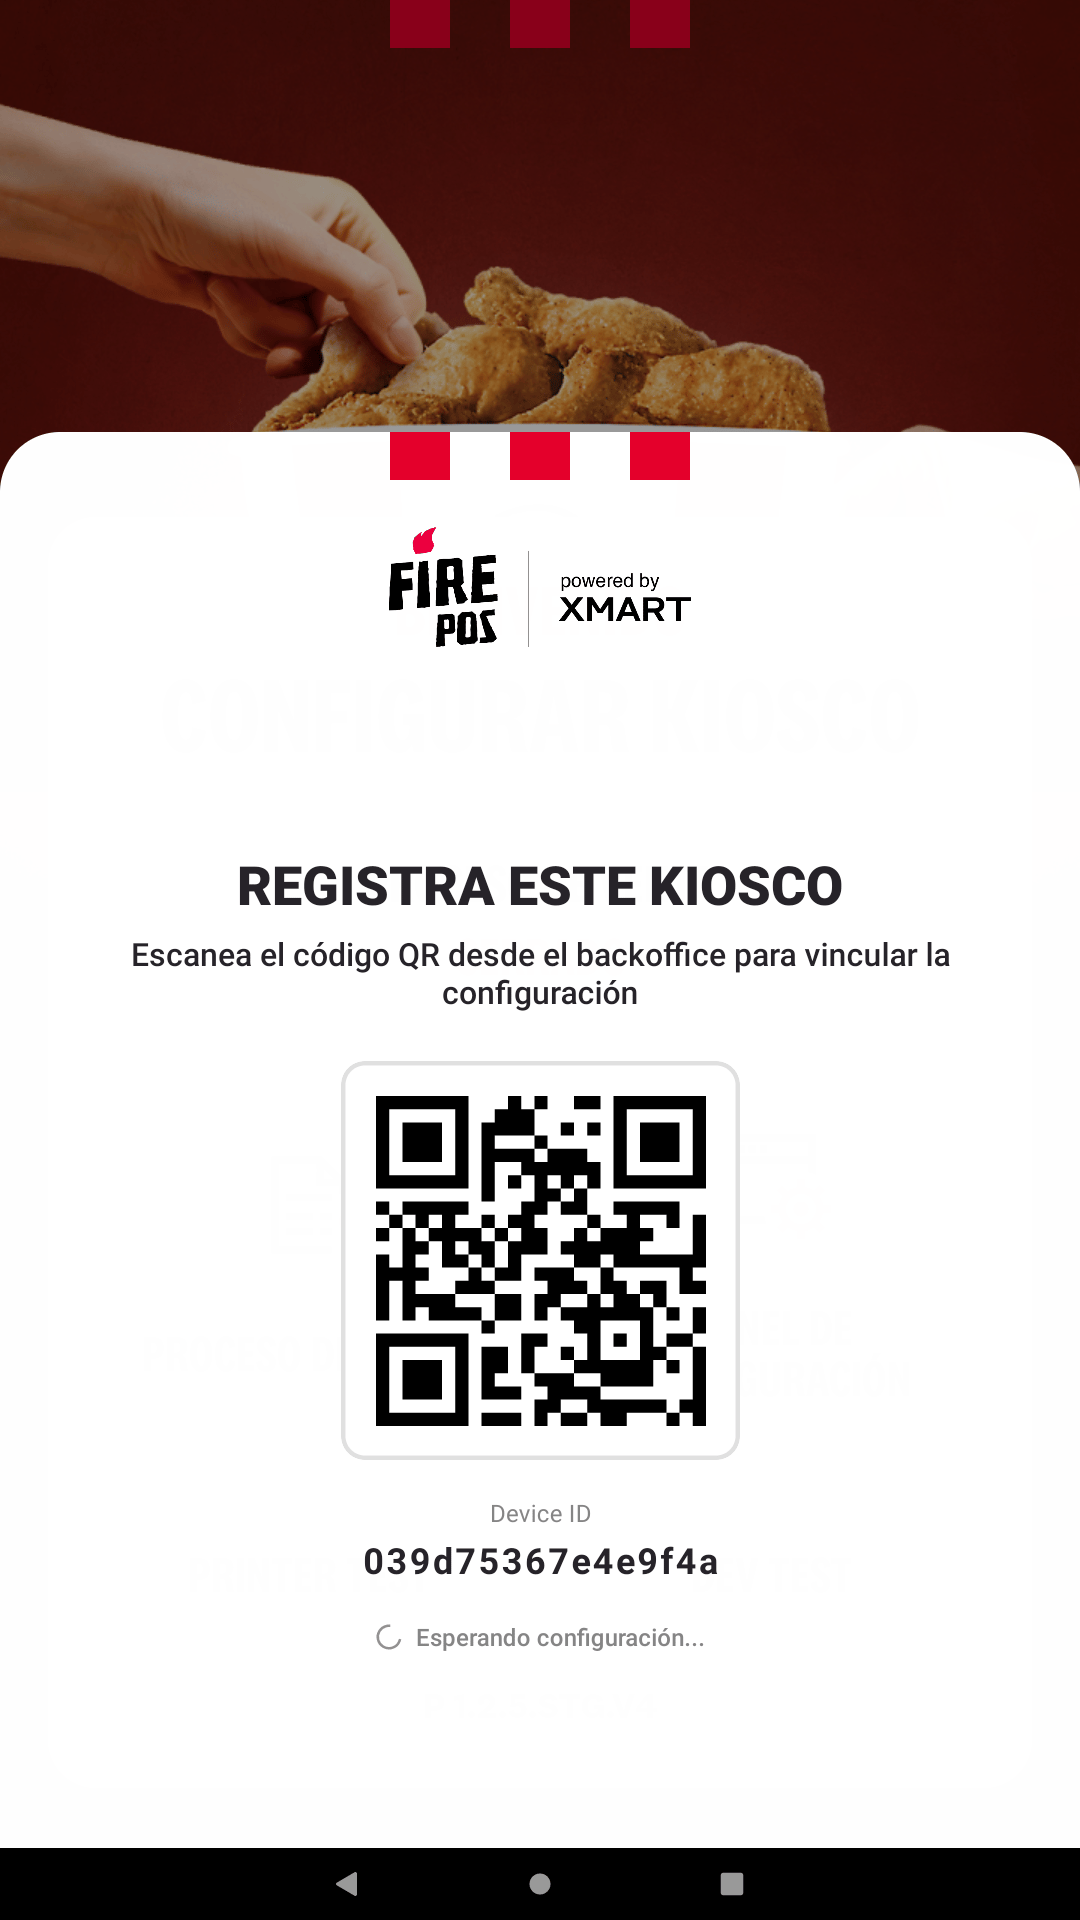
5. Register the kiosk in the backoffice
-
In the side menu open Devices → All devices.

-
Click + New Kiosk.

-
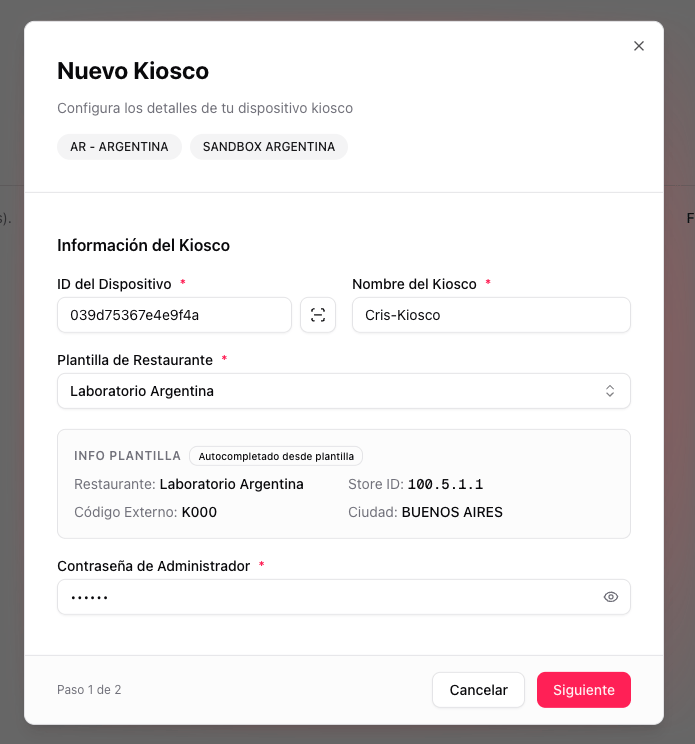
Step 1 of 2 — Kiosk Information. Fill in the fields and click Next.
- Device ID: copy or scan it from the kiosk screen (step 4).
- Kiosk Name: an internal name to identify it.
- Restaurant Template: the restaurant created in step 3. Its data is auto-filled.
- Administrator Password.
-
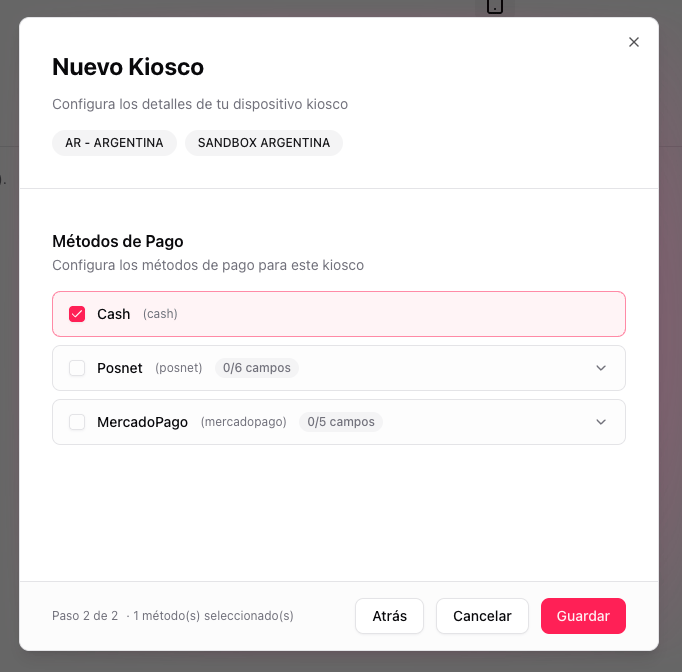
Step 2 of 2 — Payment Methods. Configure the payment methods specific to this kiosk and click Save.
-
The kiosk now appears in the list with its name, device ID, restaurant and configured payment methods.

6. The kiosk configures itself
Once saved, the device receives the configuration without manual intervention. The progress is shown on screen: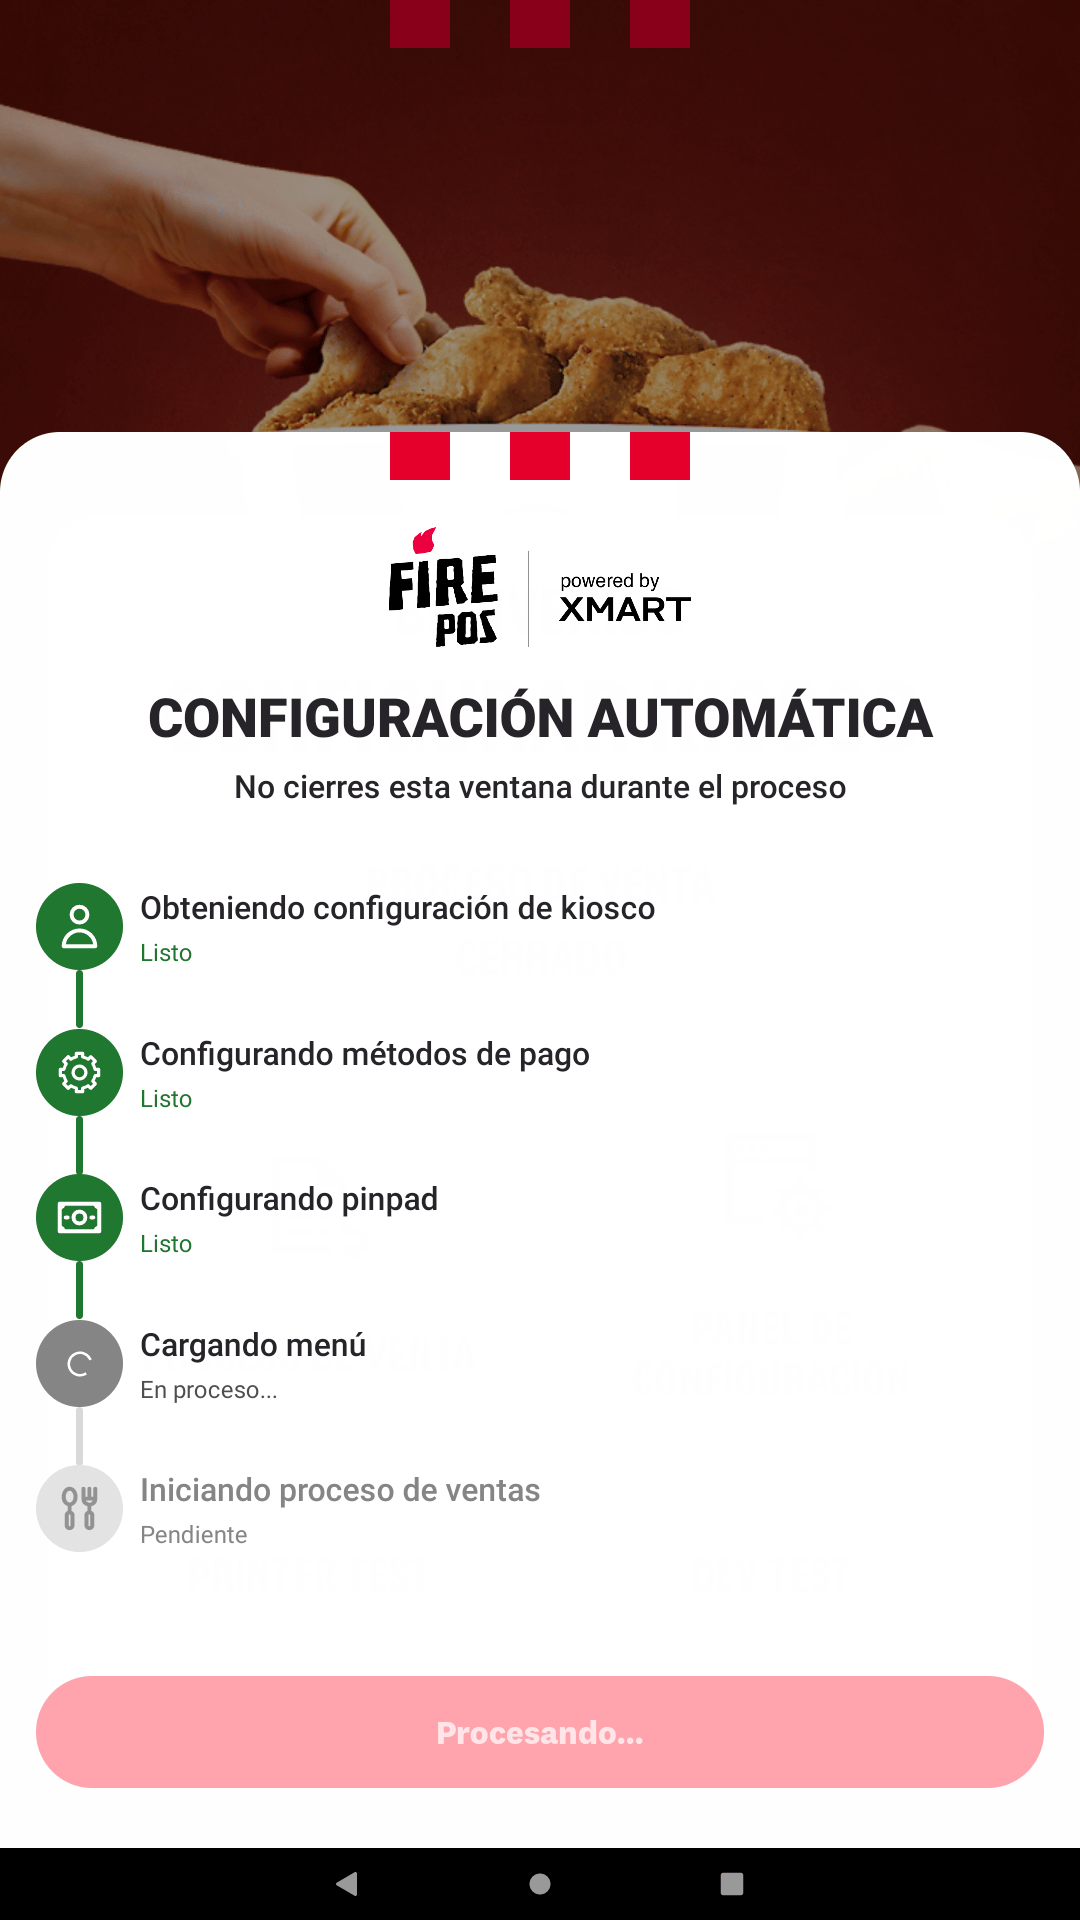
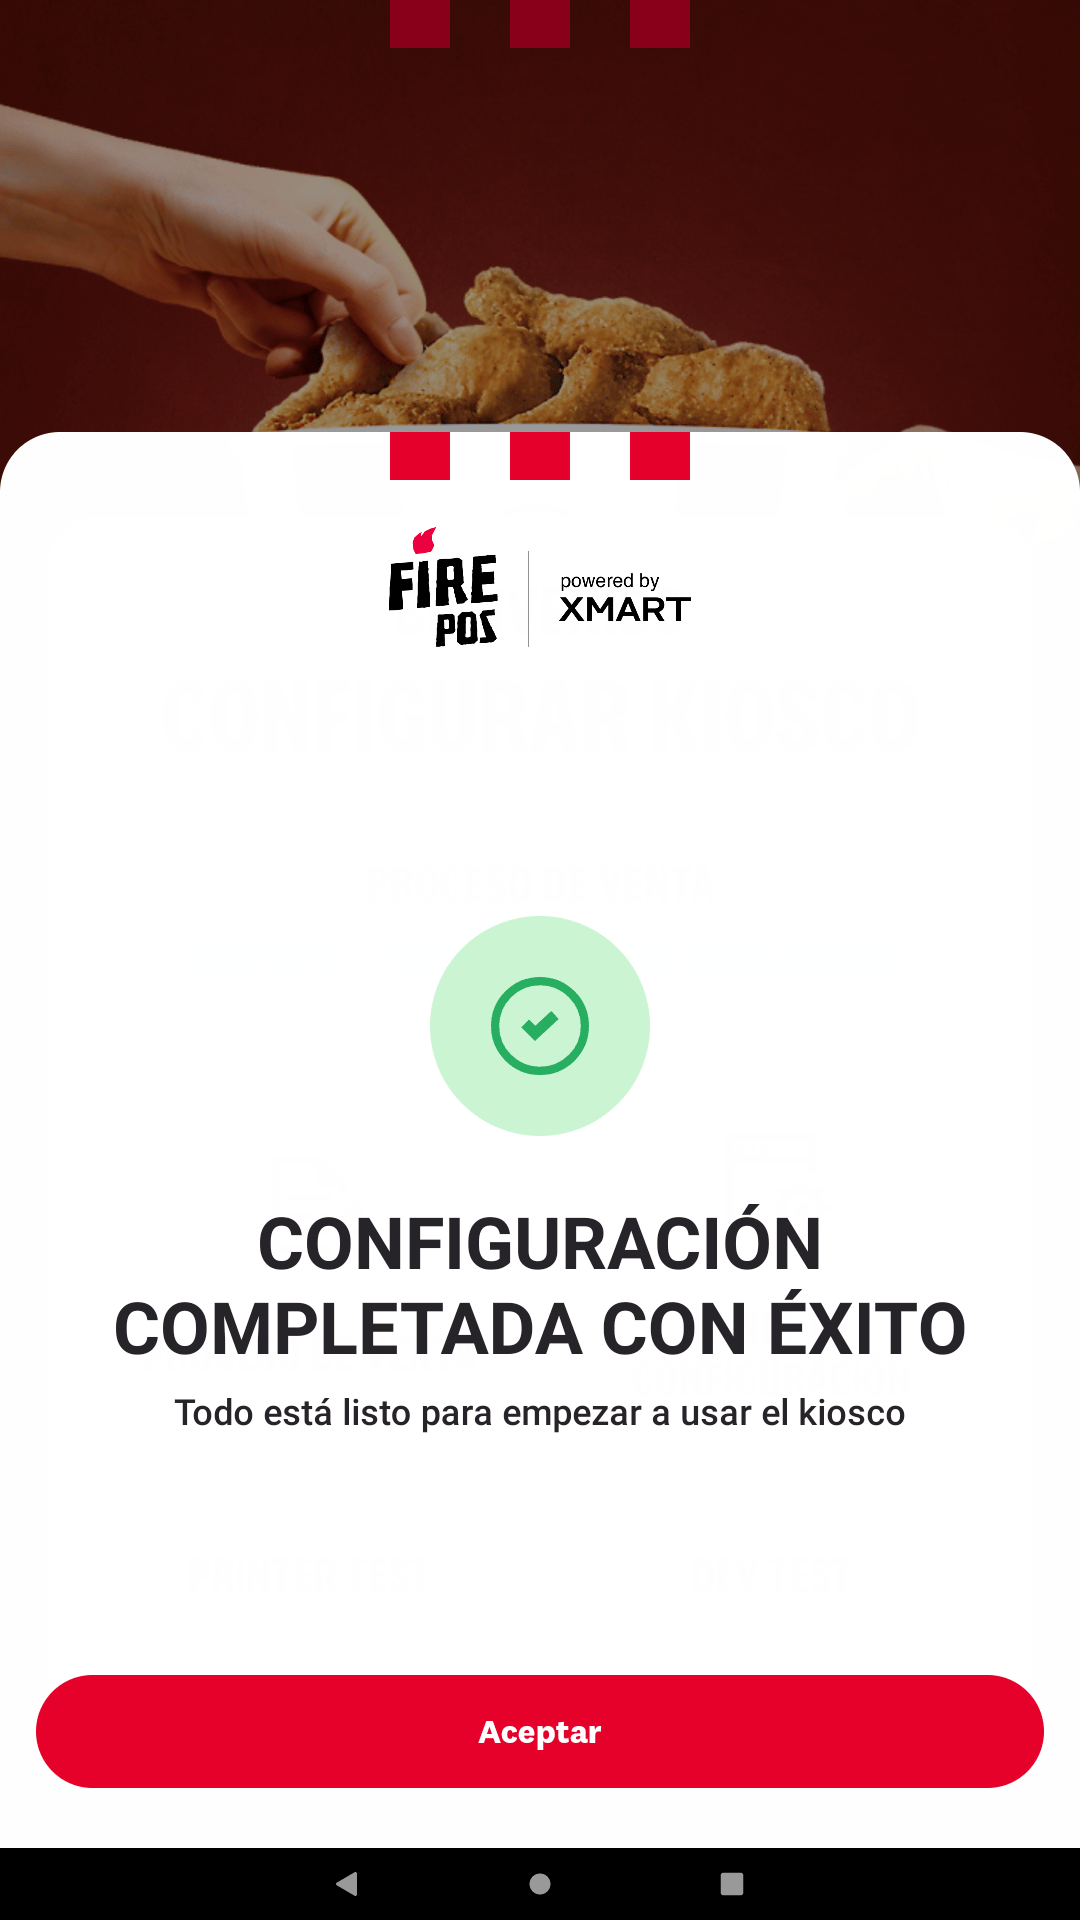
The kiosk is now linked to the store and ready to operate.